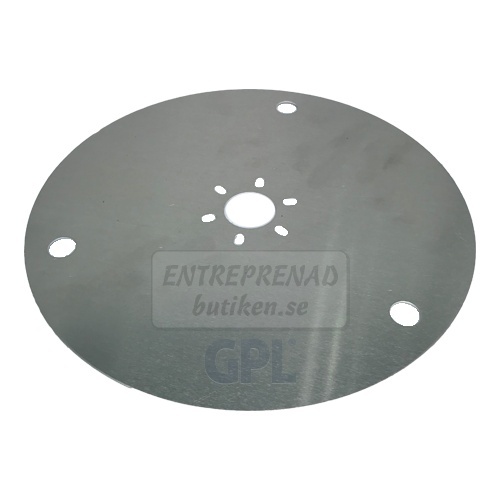
Change the skid plate on Husqvarna Automower 310, 315 and 315X
Here is a step by step guide of how to disassemble and replace the skid plate on the Husqvarna Automower 310, 315 and 315X. The same principle applies to a wide range of other Automower models.
A warped, cracked or damaged skid plate leads to noise and imbalance in the cutting system.
Changing the skid plate is a simple process and doesn't require any special tools. See below for step by step instructions.
At the bottom of the page there is a list of the spare parts needed to do the job.
Tools used: Torx screwdriver T20.
.jpg) Step 1: Turn your Automower over. Find the three screws that hold the cover and skid plate in place. Unscrew them. Step 1: Turn your Automower over. Find the three screws that hold the cover and skid plate in place. Unscrew them. | .jpg) Step 2: Lift off the skid plate and the cover. Step 2: Lift off the skid plate and the cover. |
.jpg) Step 3: Place the new skid plate on the bearing holder. | .jpg) Step 4: Screw in the cover and skid plate with the three screws. Make sure all the parts can rotate freely after you have finished. |
Change the skid plate on Husqvarna Automower 310, 315 and 315X
Here is a step by step guide of how to disassemble and replace the skid plate on the Husqvarna Automower 310, 315 and 315X. The same principle applies to a wide range of other Automower models.
A warped, cracked or damaged skid plate leads to noise and imbalance in the cutting system.
Changing the skid plate is a simple process and doesn't require any special tools. See below for step by step instructions.
At the bottom of the page there is a list of the spare parts needed to do the job.
Tools used: Torx screwdriver T20.
.jpg) Step 1: Turn your Automower over. Find the three screws that hold the cover and skid plate in place. Unscrew them. Step 1: Turn your Automower over. Find the three screws that hold the cover and skid plate in place. Unscrew them. |
.jpg) Step 2: Lift off the skid plate and the cover. Step 2: Lift off the skid plate and the cover. |
.jpg) Step 3: Place the new skid plate on the bearing holder. |
.jpg) Step 4: Screw in the cover and skid plate with the three screws. Make sure all the parts can rotate freely after you have finished. |


 Help center is a digital DIY manual for Husqvarna Automower robotic lawnmower. We teach you how to change batteries, circuitboards and other spare parts on your Husqvarna Automower.