How many splices can I have on the boundary wire?
Splicing the boundary wire is not a problem. In fact, over time you will have to splice the boundary wire more than once due to cable breakage or damage.
The number of splices depends on the length of the loop and how the splice is made. The amount of current passing through the boundary wire is measured by the resistance, which is measured in Ohms (Ω)
The longer the loop, the higher the resistance (Ohms) in the loop. The more joints you have, the higher the resistance. The higher the resistance in the boundary wire, the greater the risk that the Automower will no longer be able to detect the loop signal, due the signal being too weak.
A rule of thumb is that the limiting cable should not have a value above 30 Ohms, as this will risk problems.
How many joints can you have without causing problems?
As mentioned earlier, the length of the boundary wire plays a role in how many joints you can have.
Below is a rule of thumb on how many splices are generally possible in relation to the length of the boundary wire.
This is not an exact art and in practice can be more or fewer. There are many factors involved, such as the type and brand of boundary wire used in the installation.
If you have a boundary wire of <250 metres, you can generally have about 15 joints*.
If you have a boundary wire of 250-500 metres, you can generally have about 15 joints*.
If you have a boundary wire of >500 metres, you can generally have about 15 joints*.
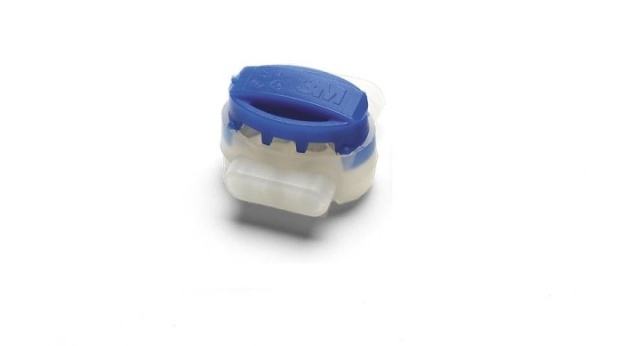
*Requires the use of a moisture-proof splice box designed for robotic lawnmowers.
Each splice contributes to a higher resistance, which means that the risk of problems increases with each splice that is made. If you have spliced many times and the problems persist, it may be better to reinstall with a new and complete boundary wire.
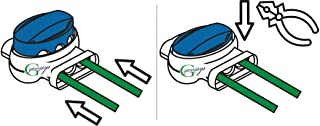
A correct joint should be clamped together completely using a tongue and groove or slip-joint pliers. Insert up to three ends into the splice box without peeling off the casing and squeeze together.


 Help center is a digital DIY manual for Husqvarna Automower robotic lawnmower. We teach you how to change batteries, circuitboards and other spare parts on your Husqvarna Automower.