How to replace battery on Automower 310,315 or 315X
In this guide we will show you step-by-step how to change the battery of your Automower 310. The same procedure applies to Automower 315 and 315X.
How often do I have to change my battery?
Normally a genuine Husqvarna battery will last for 5-6 seasons. This also depends on how big your lawn is and how many hours per day that your Automower has to cut. An indication of when the battery needs to be changed is when your Automower returns to the charging base more frequently or when it suddenly stops in the middle of the lawn with an error message 'Empty battery'.
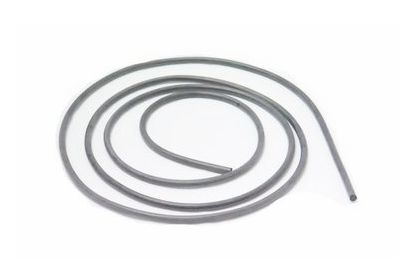
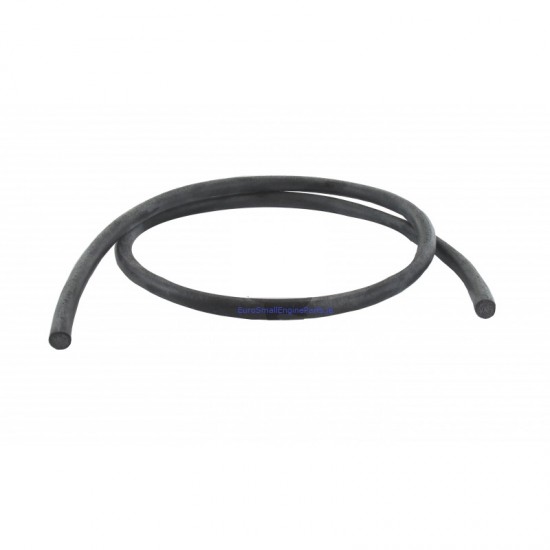
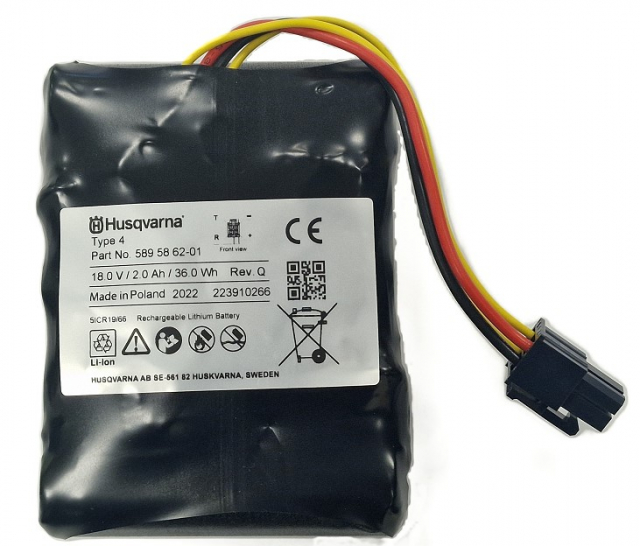
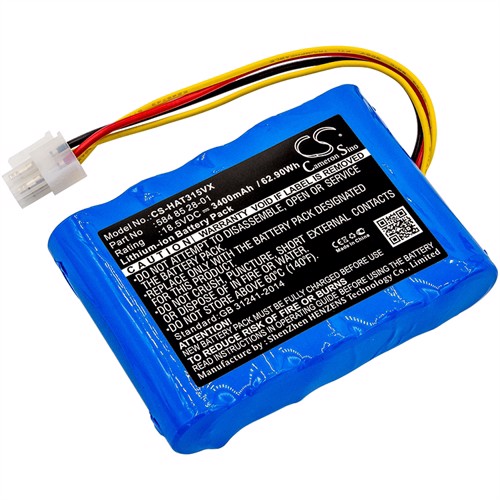
On the bottom of this page you will find the correct OEM spare parts that we use for this replacement.
.jpg) Step 1: Turn your Automower upside-down and disconnect the charging contacts. Step 1: Turn your Automower upside-down and disconnect the charging contacts. | .jpg) Step 2: Remove the chassis. You do this by pulling the chassis upwards with one hand while keeping the Automower in place with your other hand. Step 2: Remove the chassis. You do this by pulling the chassis upwards with one hand while keeping the Automower in place with your other hand. |
.jpg) Step 3: Unscrew all of the Torx screws as the image above shows. A total of 14pcs. Also remove the cutting height adjustment knob. | .jpg) Step 4: Lift off the upper part of the body and disconnect the white flat-cable that is connected to the motherboard. |
.jpg) Step 5: Remove the chassis and cutting unit seals. | .jpg) Step 6: Disconnect the battery contact, marked with a yellow ring. Then proceed to unscrew the two Torx screws holding the battery holder. |
.jpg) Step 7: Carefully lift the battery holder and take out the old battery. | .jpg) Step 8: Install the new battery in the holder. Then connect the battery to the motherboard. Note! If there is a up/downside marking on the battery, place it as the marking shows. |
.jpg) Step 9: Assemble the Automower in reverse order and don't forget to place a new sealing for the chassis and also for the cutting unit. Finally connect the charging contacts once again. |
After you've done this procedure make sure to charge the battery fully before letting your Automower go back to work.
How to replace battery on Automower 310,315 or 315X
In this guide we will show you step-by-step how to change the battery of your Automower 310. The same procedure applies to Automower 315 and 315X.
How often do I have to change my battery?
Normally a genuine Husqvarna battery will last for 5-6 seasons. This also depends on how big your lawn is and how many hours per day that your Automower has to cut. An indication of when the battery needs to be changed is when your Automower returns to the charging base more frequently or when it suddenly stops in the middle of the lawn with an error message 'Empty battery'.
On the bottom of this page you will find the correct OEM spare parts that we use for this replacement.
Required tools: Torx screwdriver T20.
.jpg) Step 1: Turn your Automower upside-down and disconnect the charging contacts. Step 1: Turn your Automower upside-down and disconnect the charging contacts. |
.jpg) Step 2: Remove the chassis. You do this by pulling the chassis upwards with one hand while keeping the Automower in place with your other hand. Step 2: Remove the chassis. You do this by pulling the chassis upwards with one hand while keeping the Automower in place with your other hand. |
.jpg) Step 3: Unscrew all of the Torx screws as the image above shows. A total of 14pcs. Also remove the cutting height adjustment knob. |
.jpg) Step 4: Lift off the upper part of the body and disconnect the white flat-cable that is connected to the motherboard. |
.jpg) Step 5: Remove the chassis and cutting unit seals. |
.jpg) Step 6: Disconnect the battery contact, marked with a yellow ring. Then proceed to unscrew the two Torx screws holding the battery holder. |
.jpg) Step 7: Carefully lift the battery holder and take out the old battery. |
.jpg) Step 8: Install the new battery in the holder. Then connect the battery to the motherboard. Note! If there is a up/downside marking on the battery, place it as the marking shows. |
.jpg) Step 9: Assemble the Automower in reverse order and don't forget to place a new sealing for the chassis and also for the cutting unit. Finally connect the charging contacts once again. |
After you've done this procedure make sure to charge the battery fully before letting your Automower go back to work.


 Help center is a digital DIY manual for Husqvarna Automower robotic lawnmower. We teach you how to change batteries, circuitboards and other spare parts on your Husqvarna Automower.